|
LabGuy's World: PhiloCam - Image Dissector Camera Project, Part 2 [HOME] [ELECTRONICS PROJECTS] [PART 1] [PART 3] [PART 4] 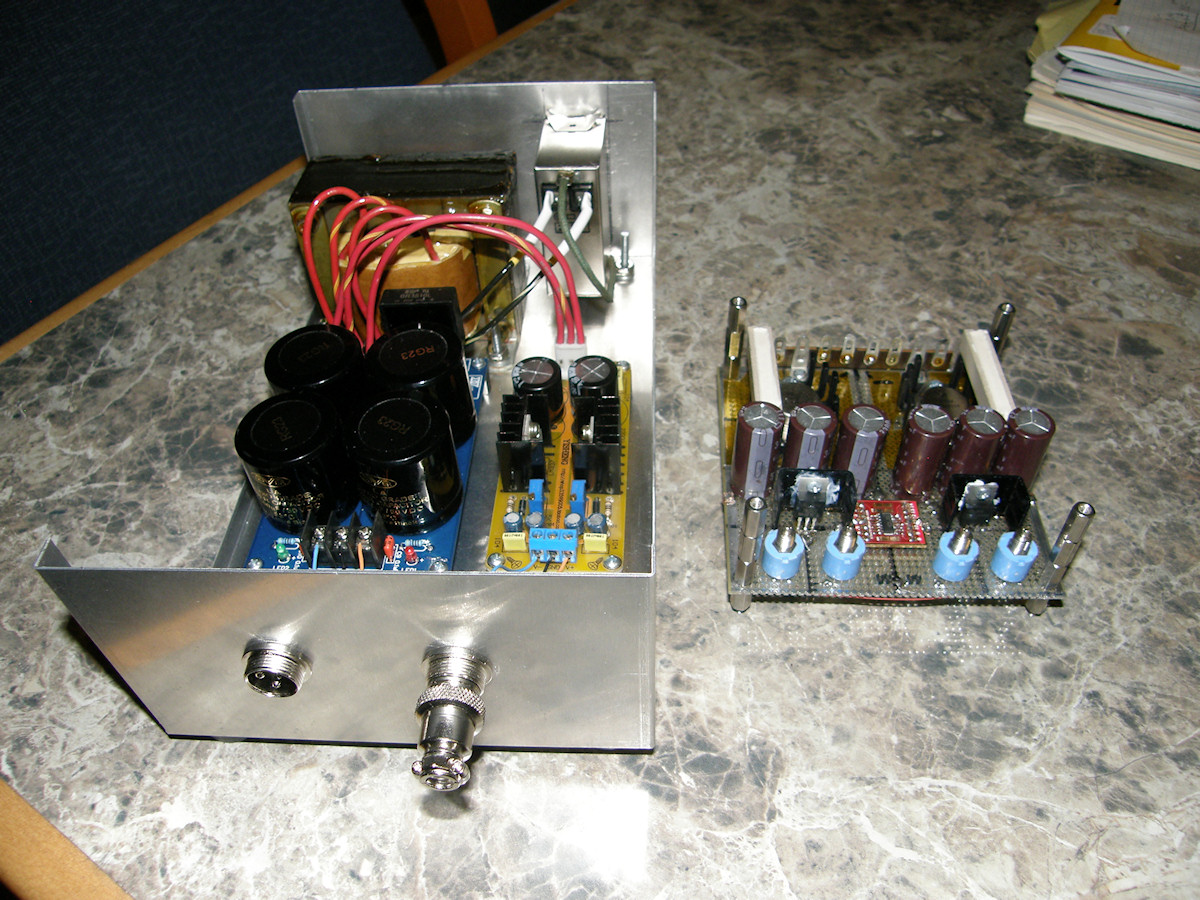
The DC power supply and X/Y magnetic scan amplifier - 20161230 At this point in the project, the the magnetic scanning amplifier was the next logical step. Instantly, of course, this was going to need its own power supply and the power supply project was born as a parallel stream. I worked back and forth on these for the past several weeks. Both projects were completed successfully. The scan amp story will be documented on the appropriate [magnetic scan amp project page]. The power supply and scan amps are documented in their own multipart videos, presented below for your convenience. Warning! They are long and boring to the uninitiated. Over an hour each of unadulterated home work bench electronic construction porn! Lots of hand tool construction. Following that, we return to the camera project proper. VIDEO: Dual Scan Video Amplifier (multi-part playlist)- 20161226 Here is the YouTube video playlist of the deflection amplifer project. Enjoy the construction of a protoboard two channel wideband analog amplifer. Observe the organic approach I take to the construction of my projects. This is a completed project. VIDEO: Let's build a power supply (multi-part playlist)- 20161226 Here is the YouTube video playlist of the power supply for the deflection amplifer project. This is a completed project. VIDEO: The PhiloCam Project (multi-part playlist)- 20170101 Here is the YouTube video playlist of the image dissector camera project project. This picks up the story at the point where I moved all of the open air wired circuits, from the wooden breadboard, into a couple of very nice aluminum enclosures. Lots of hand tool small work bench porn for the initiated! Refer to these videos outside of this article for reference on various construction techniques. 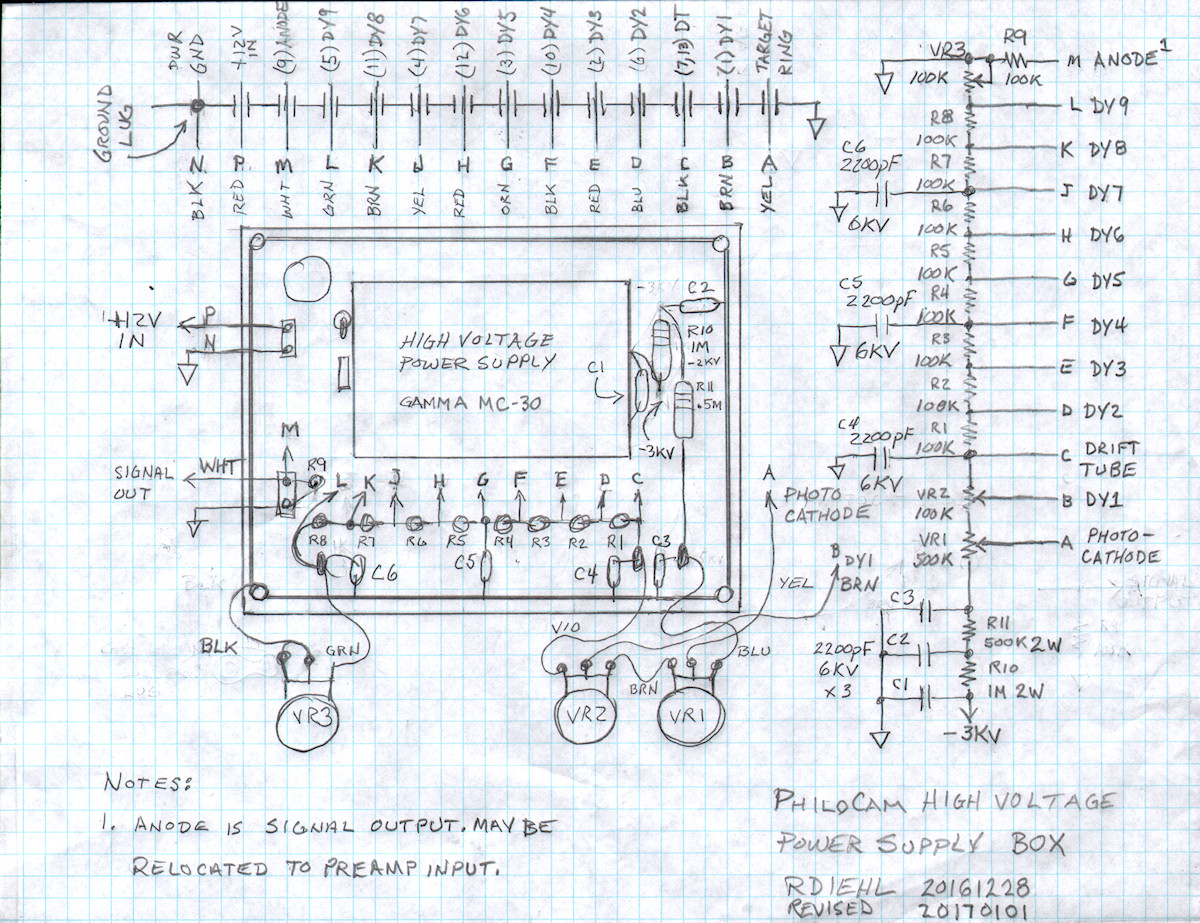
The high voltage DC power supply - 20170102 Moving the high voltage supply into the aluminum enclosure has been challenging. But, perseverence has paid off. The unit is fully assembled and ready for testing today. Let's get started. Please refer to the electrical schematic on the right side of the drawing shown above. 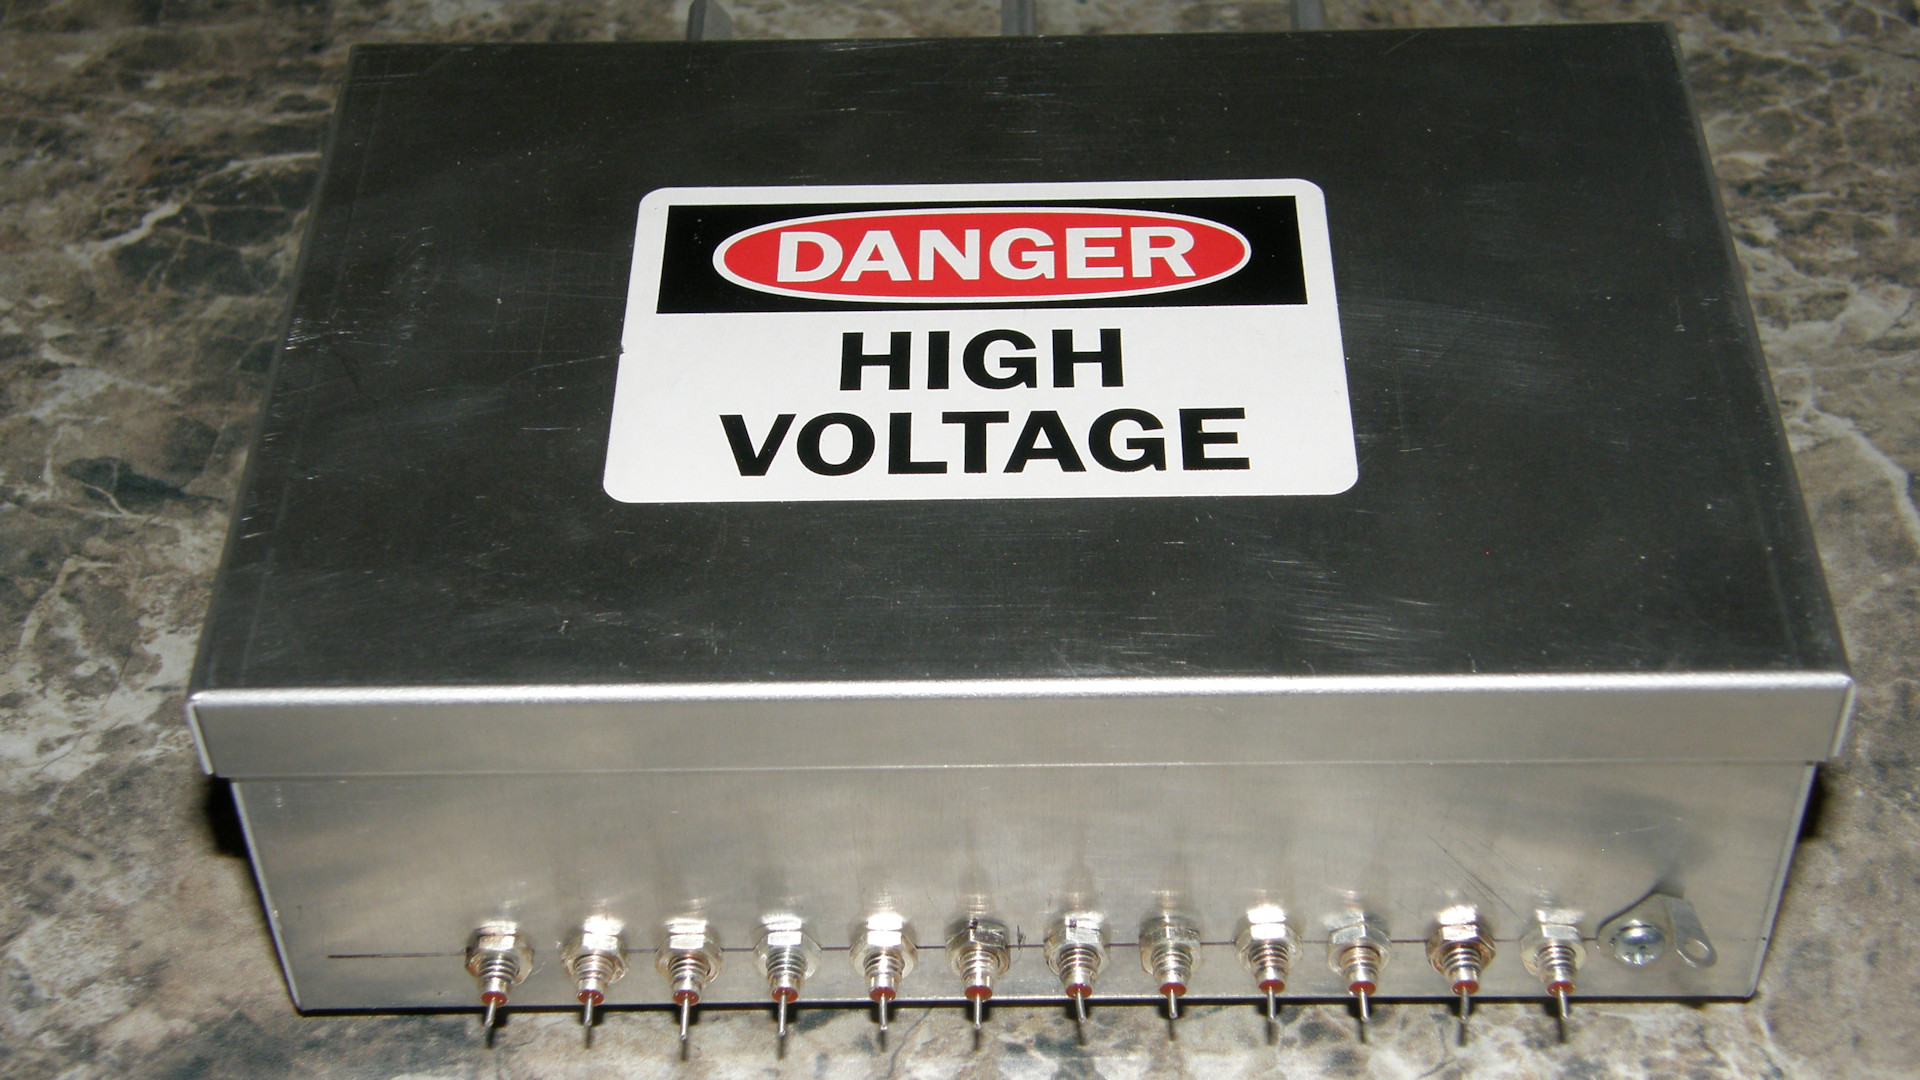
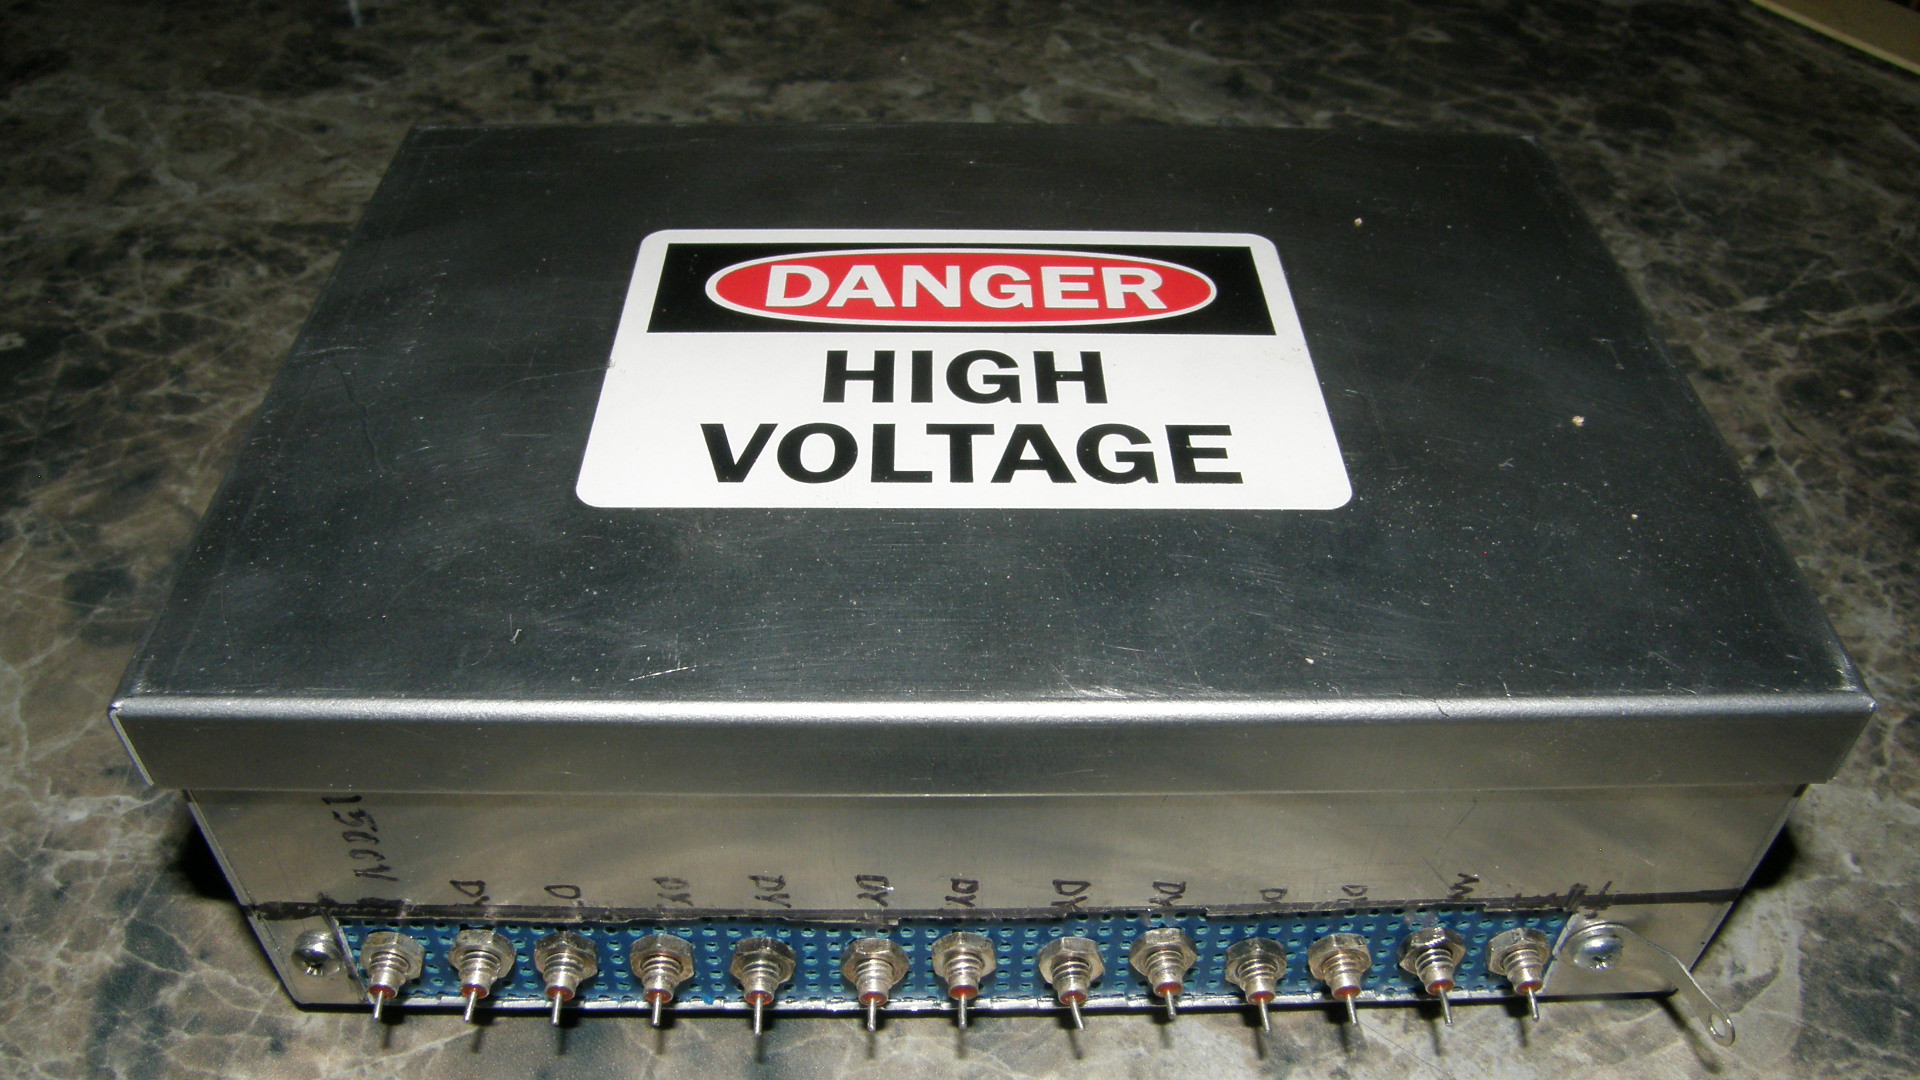
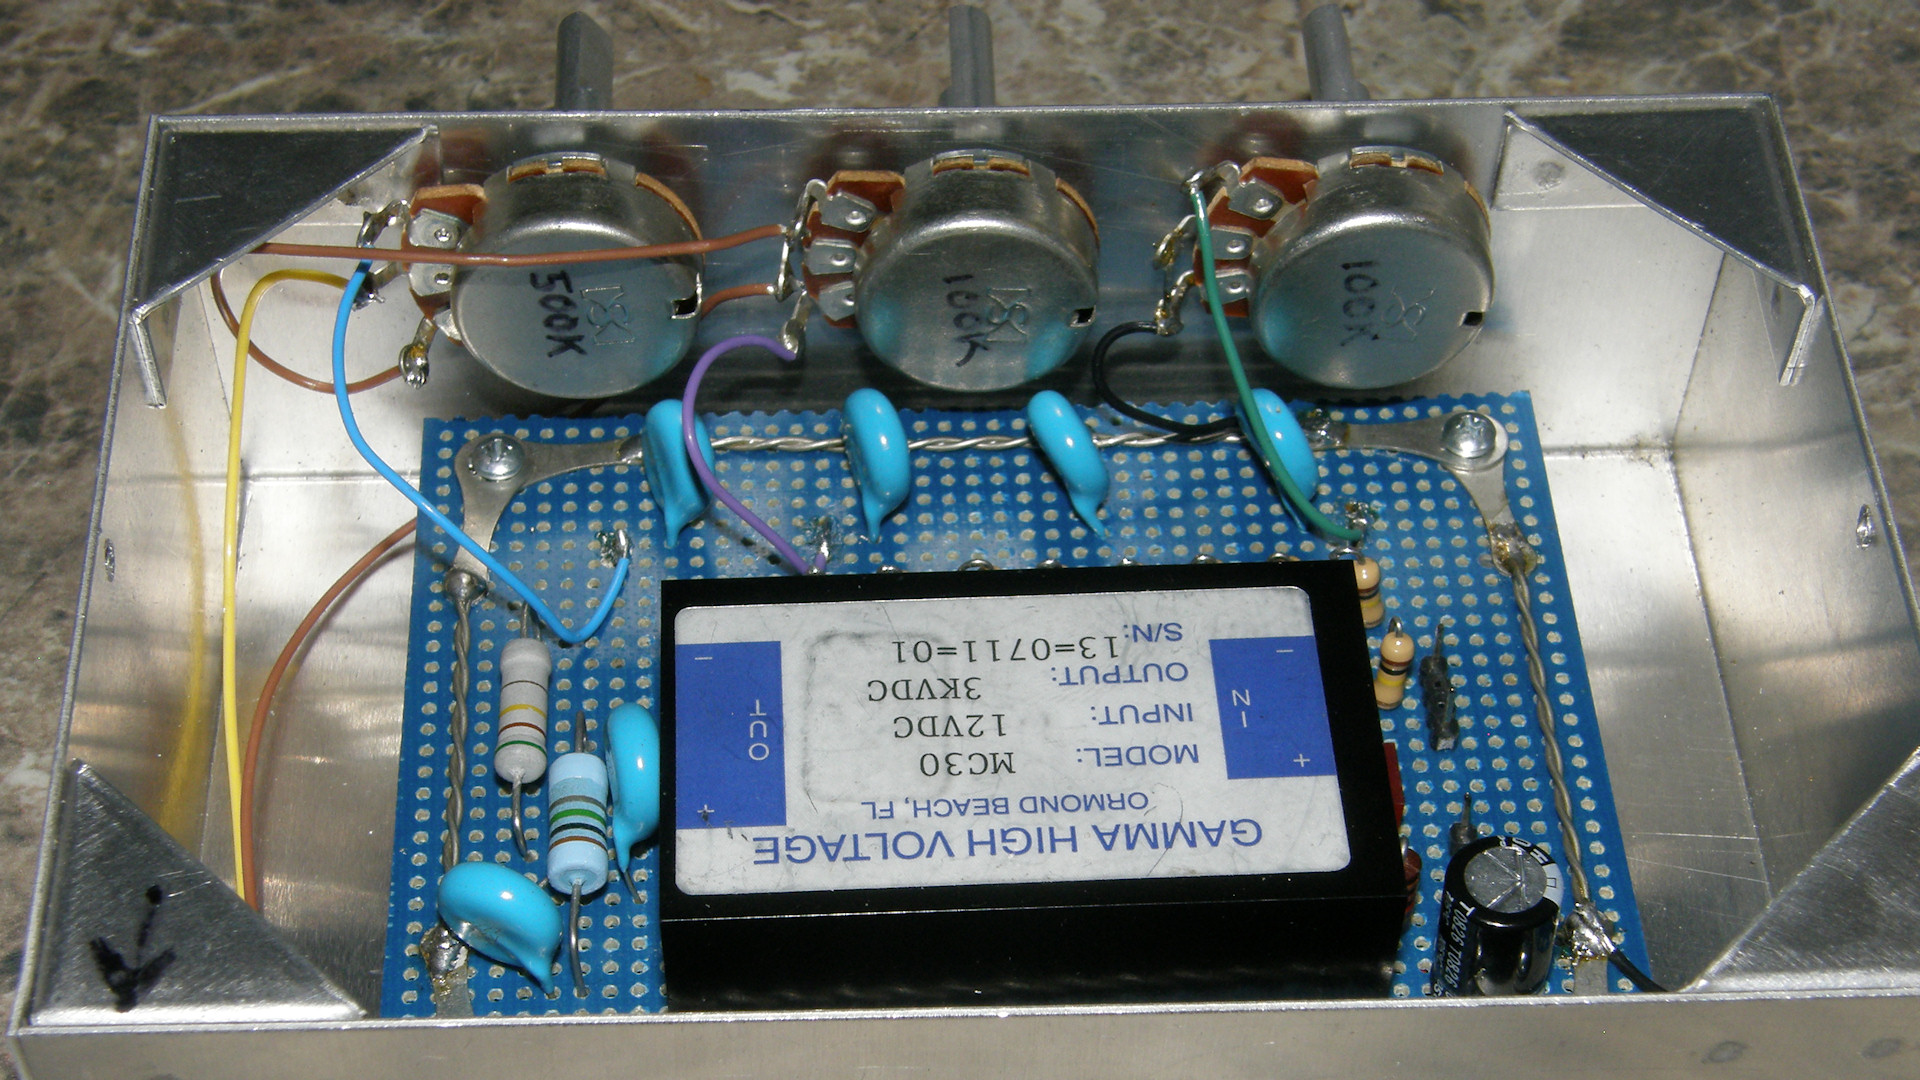
Before and After - 20180921 Immediately, there were problems. Voltages were way too low, the resistors were roasting and the supply was pulling about double current. In the end, the feed through caps that were operating above 600 volts started breaking down and shorting various points on the divider string to ground. This was fixed by moving the feed throughs to an insulated piece of perferated phenolic board. Not as pretty as before. But, problem solved. 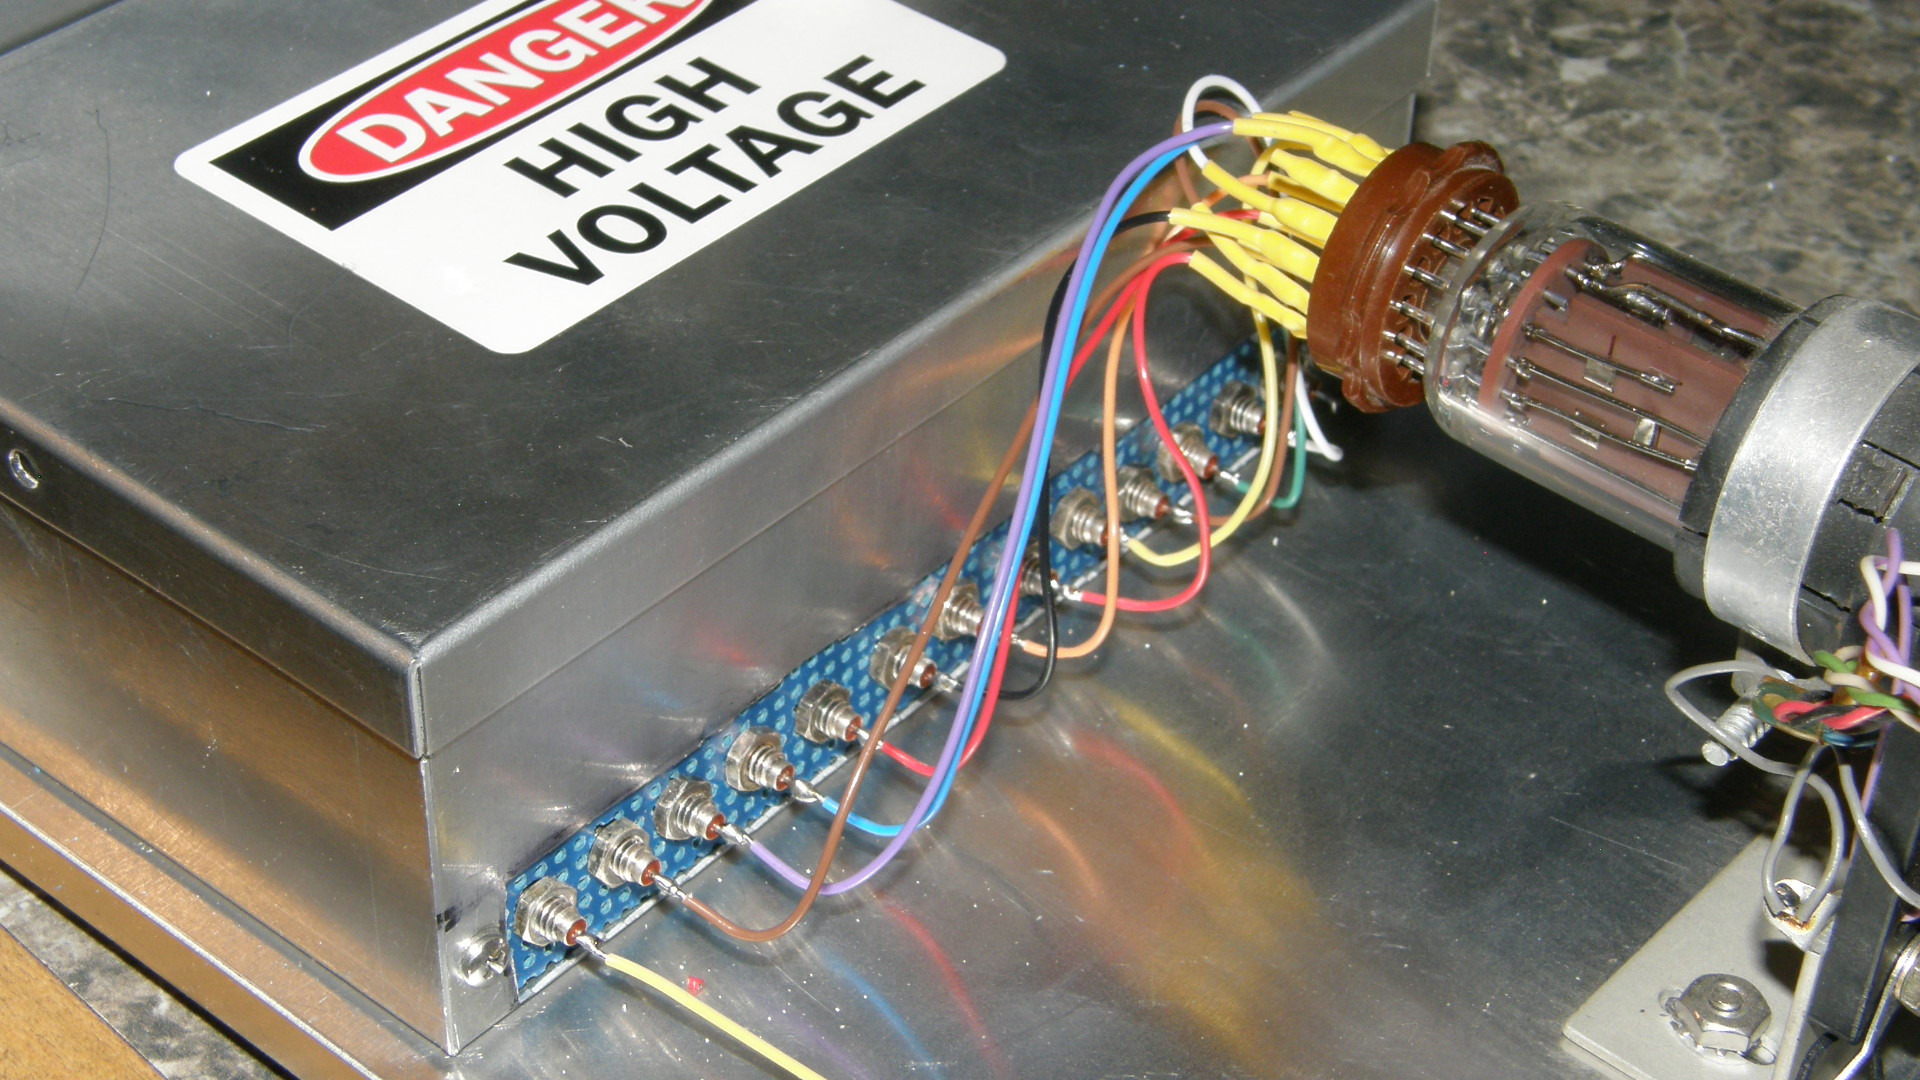
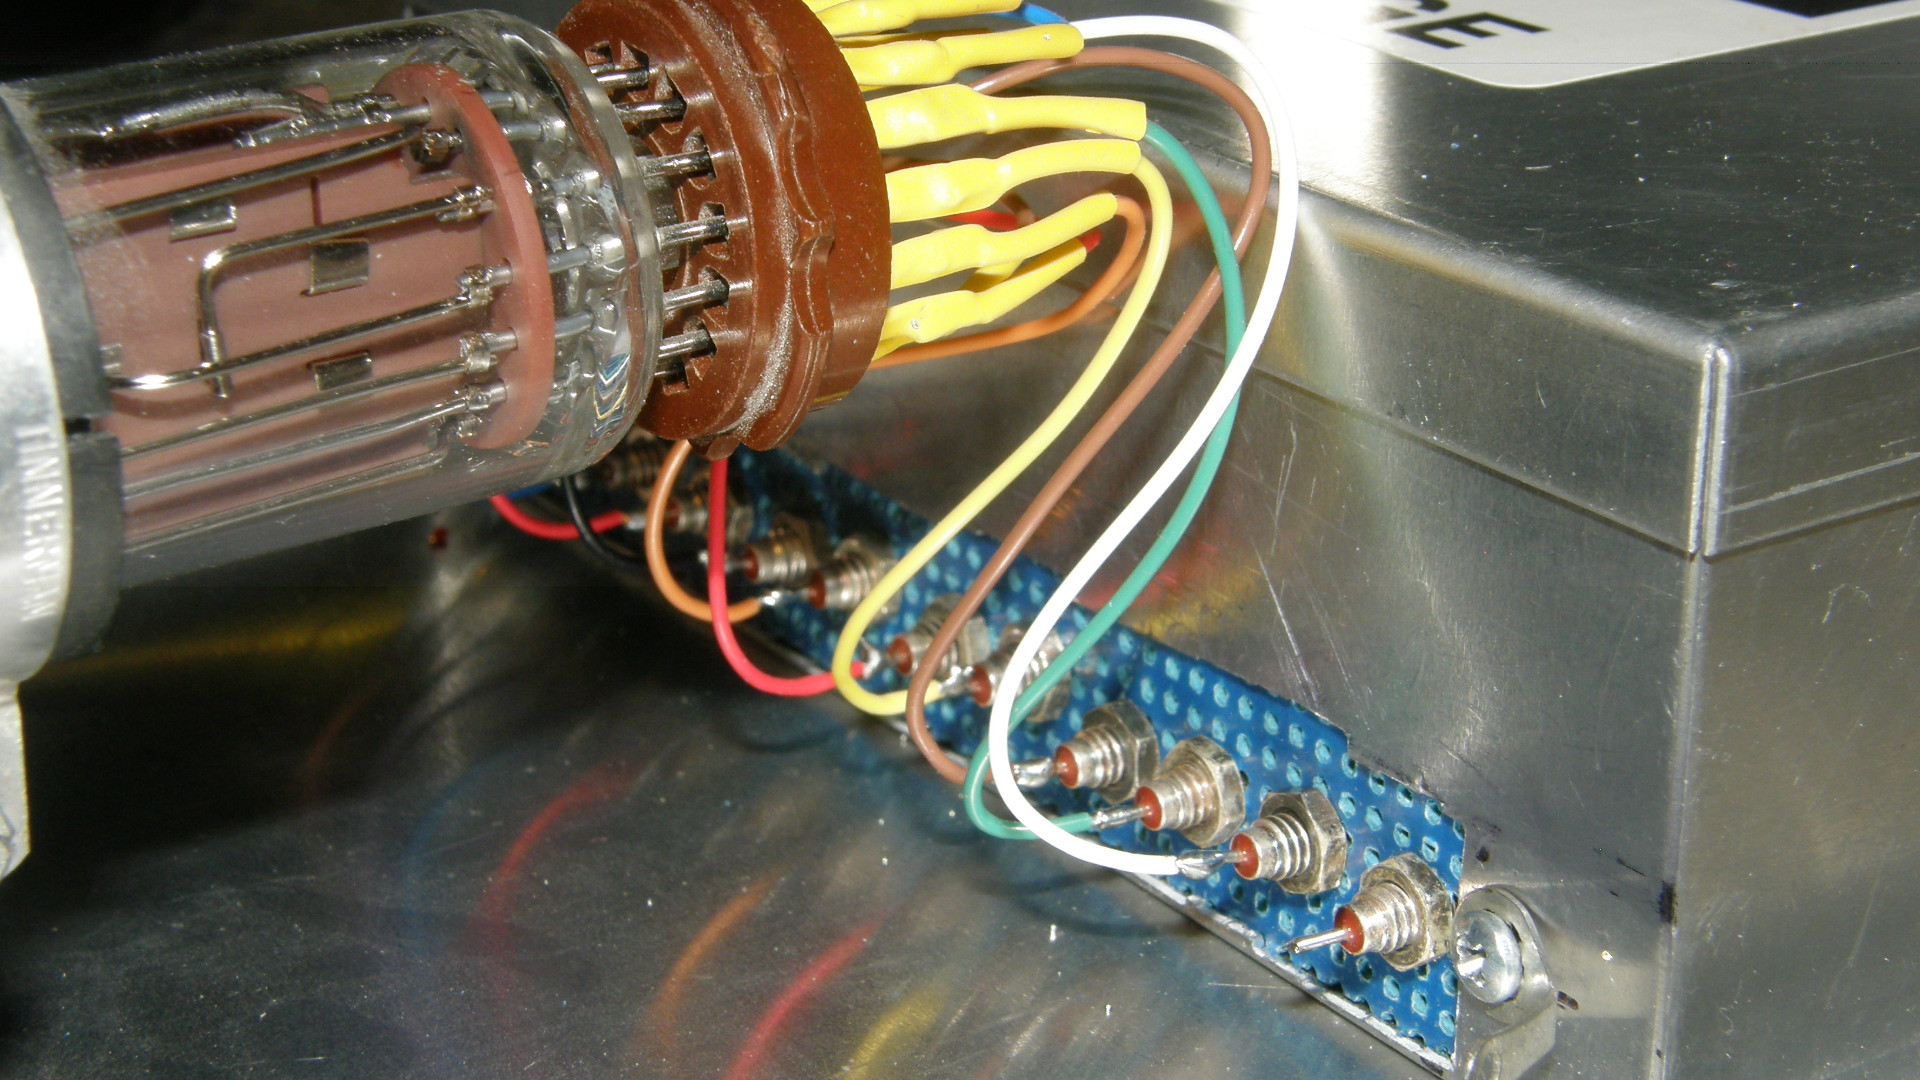
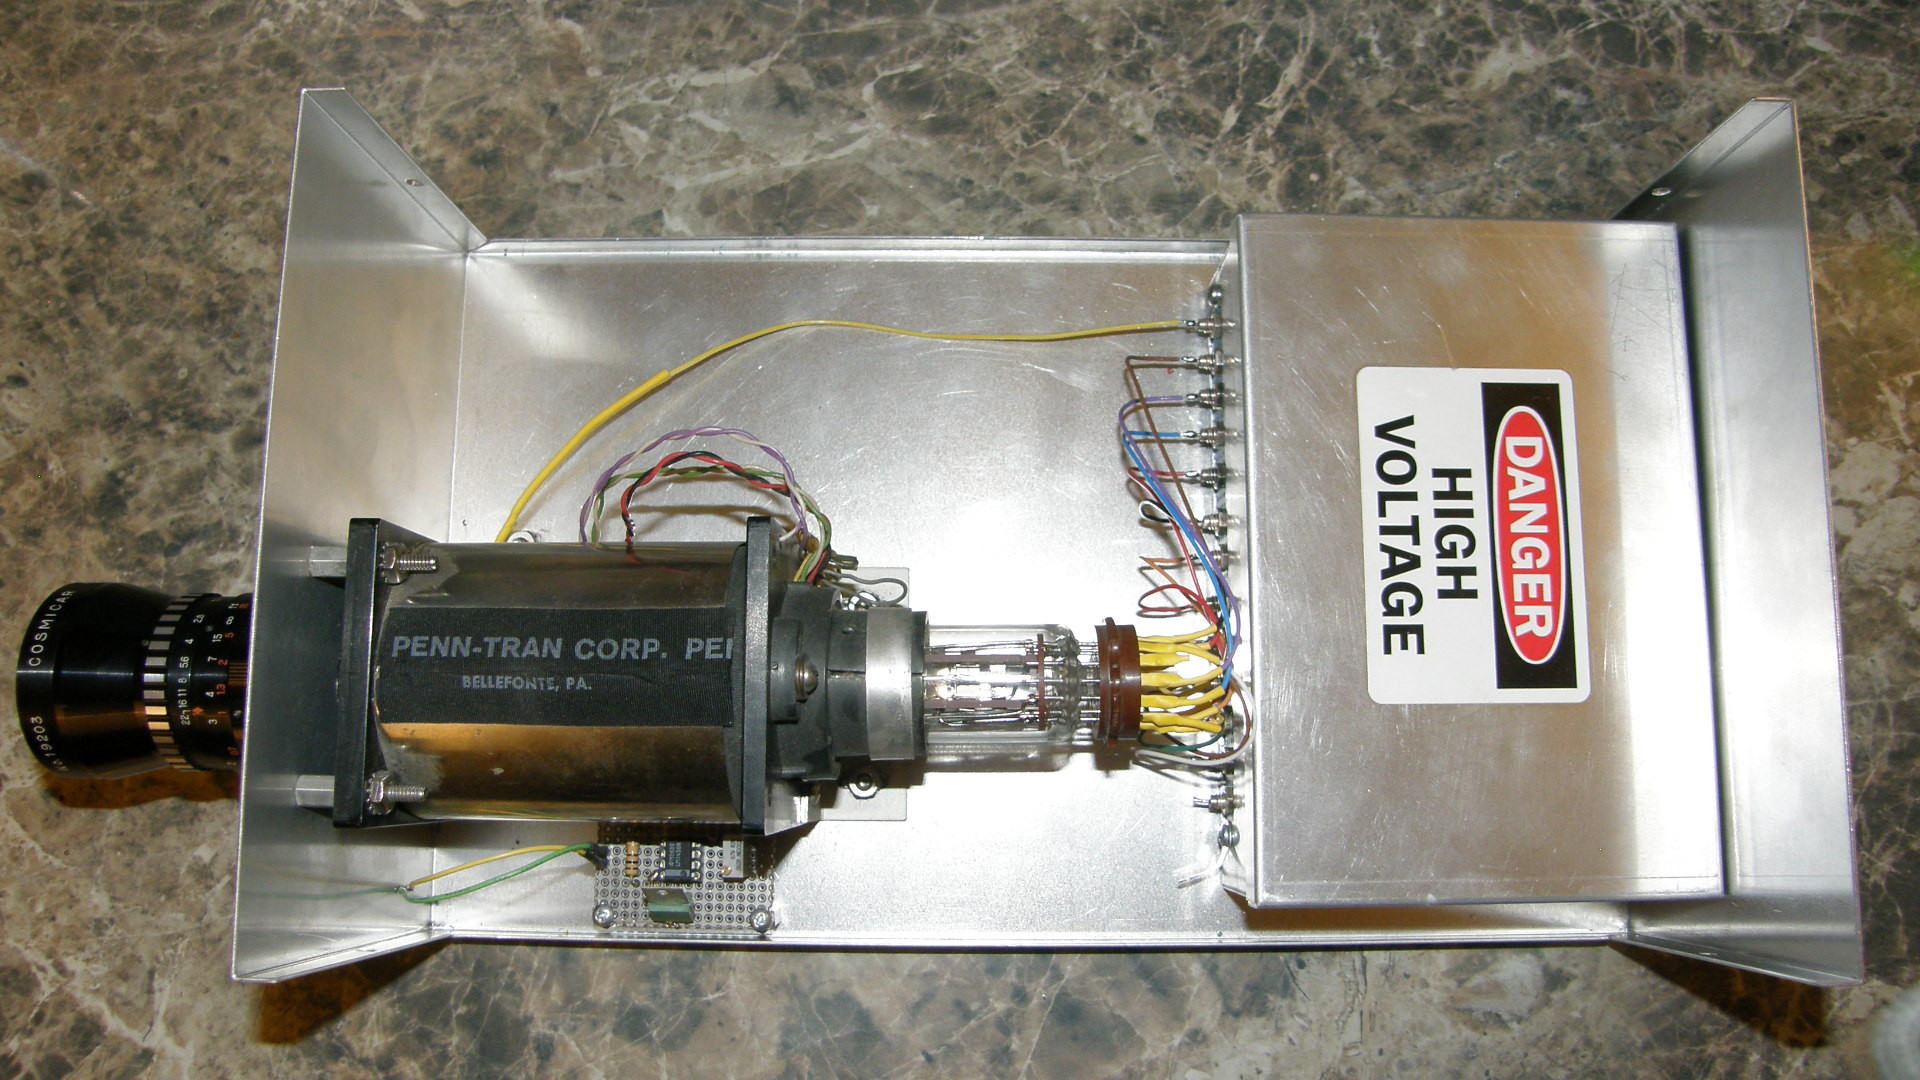
My tribute to the work of Philo T. Farnsworth is finally taking shape. - 20180921 This project has languished for a year and a half now. First I became disgusted with the power supply failure. Then other projects on the bucket list started to take priority because they could be completed successfully with a heck of a lot less effort. Then, very recently, I was able to get images from my other image dissector tubes, IT&T type FW-130. That is a series of steerable photo multiplier tubes. This one, the actual PhiloCam, is an unknown variant in the family of IT&T F4000 series of tubes. The observant among you will immediately notice the new tube socket in place of the individual female pins I used earlier. It was just dumb luck that socket from a two inch electrostatic television CRT, Telefunken D5-100W, fit this dissector tube almost perfectly. This socket went onto shorter pins on the CRT. Though it does not seat fully to the bottom of the imager tube, it is perfectly functional none the less! You can catch up on the progress of making image dissector tubes work, without documentation no less, by starting in my FW-130 image dissector video series here: Image Dissector Tube First Images. There are currently four episodes in that series. 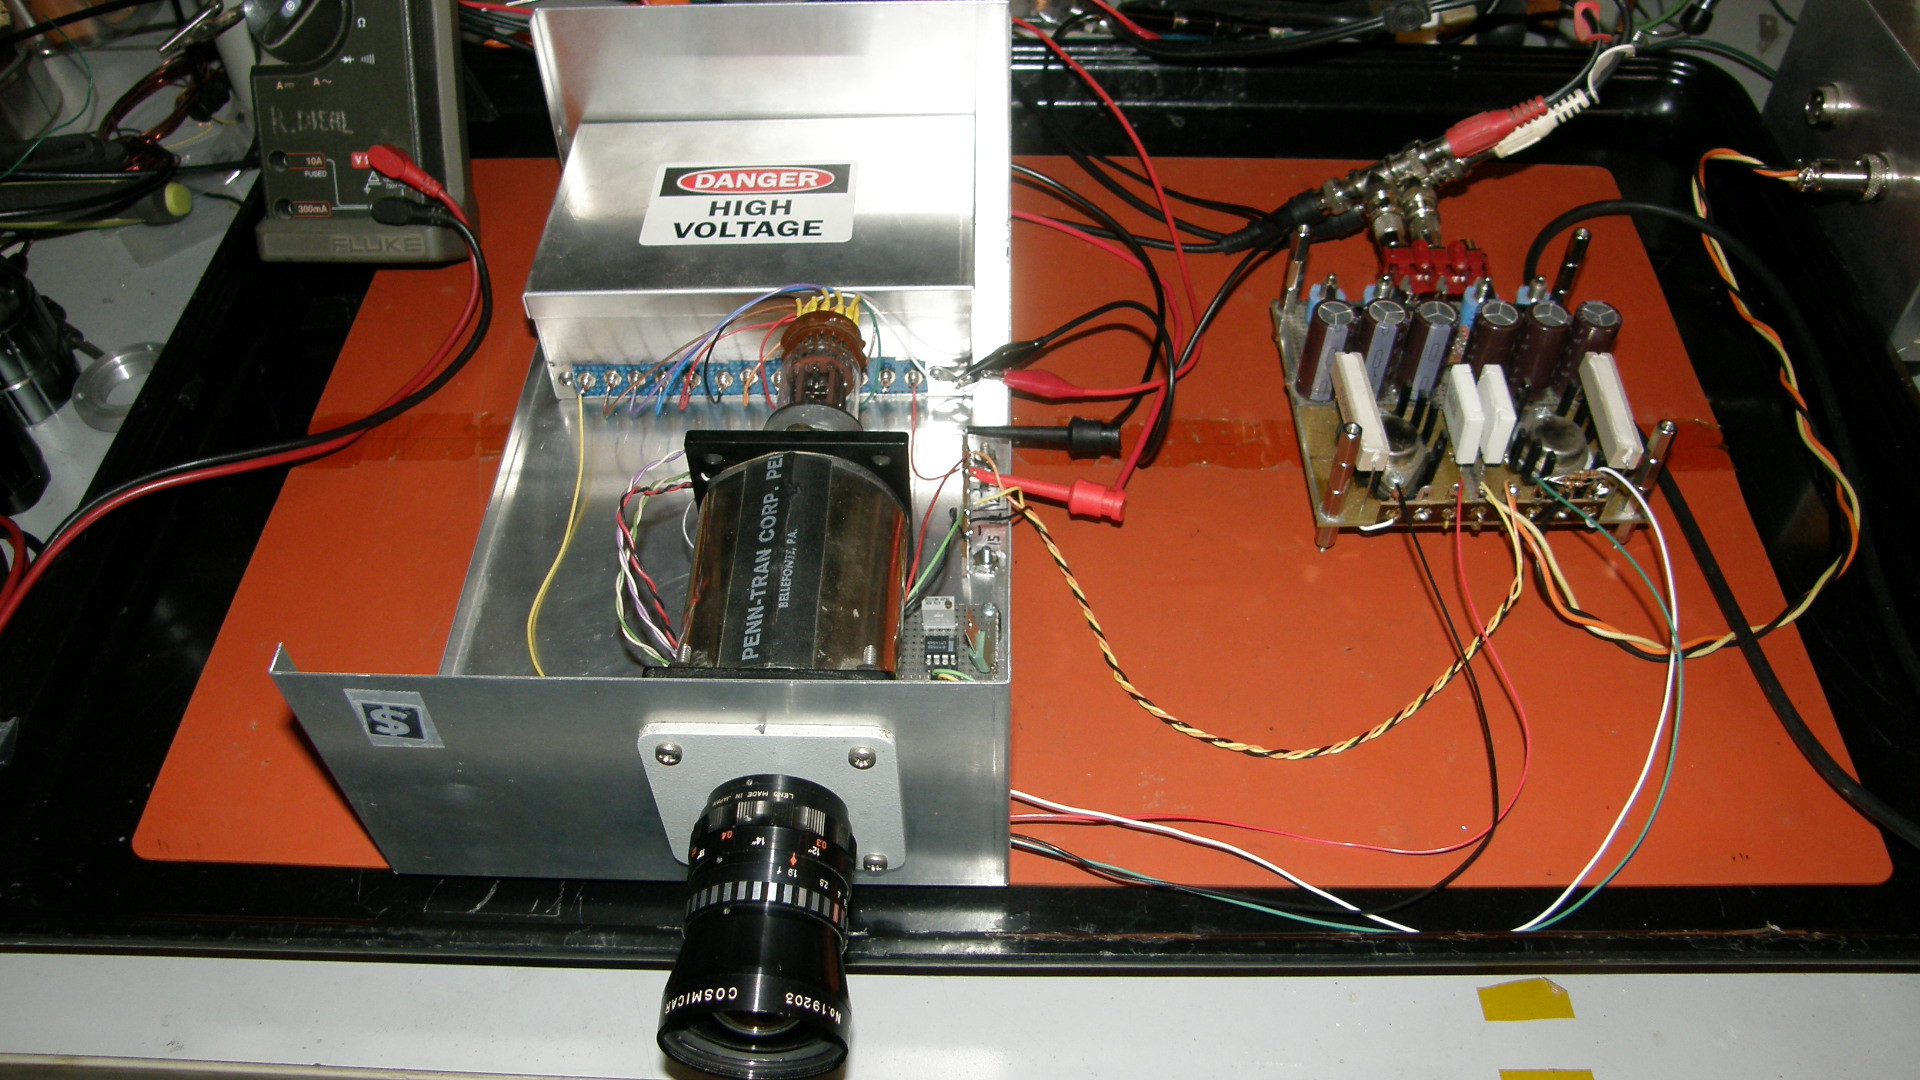
The testing has begun. Behold the test set up! - 20180922 The PhiloCam project is a success! I was able to see blobs of light from a flash light. A recognizeable, though very blurry, image was seen on the XYZ display. I did not take still photos of that. Here is video instead! It's alive! Are there any other dissector cameras operating anywhere? - 20181001 
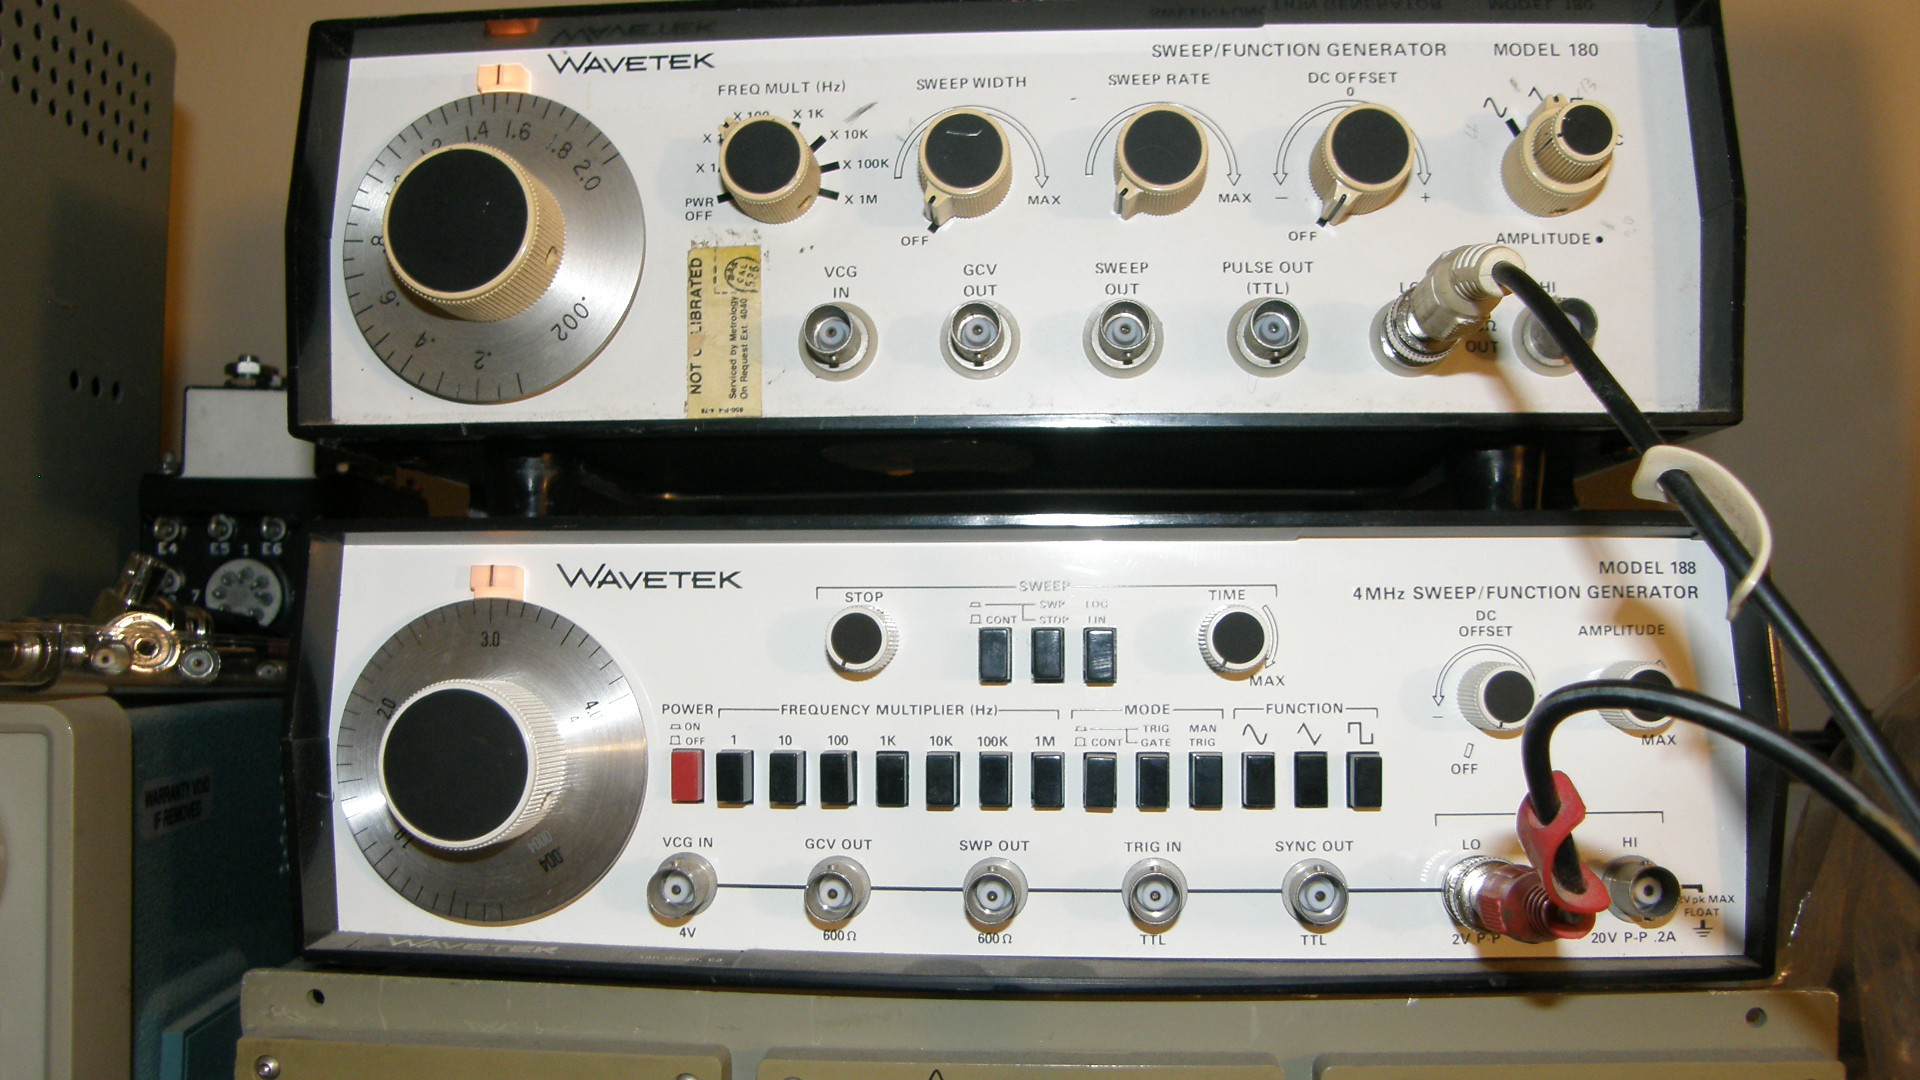
First Order Success! We can see an actual image from this tube! - 20181025 At this point, we are getting picture information out of the tube and feeding it to the o'scope. There is a bit of image doubling that is due to the triangle wave scanning of the two audio signal generators being used to drive the scanning coils. To get this image, I tape a transparent slide to the front of the vidissector tube, with the face of Philo Farnsworth therein, and then shined a very bright light through it. The proof is on the screen. The project will work! (20190522) Since the time of the success shown above, Steve McVoy at the Early Television Foundation has restored an original Diamond Power industrial image dissector camera to operation. An excellent achievement! Congratulations, Steve! See it here: [ETF: Progress on the Diamond Image Dissector Camera restoration] Phase two is to construct a proper scanning system with a sync generator and saw tooth waveform deflection. That will be covered in Part 3. The new format will try to emulate that which Philo Farnsworth and his team may have witnessed in their lab in about 1930, when they saw their first pictures. REFERENCES: 1. PDF file [ITT F4012 Image Dissector Tube ] from around the late 1960s? 2. PDF file [LM1458] dual operational amplifier in 8 pin DIP package 3. PDF file [D43C1] PNP power transistor in TO202 package 4. PDF file [LH0101] 60W high power opamp 5. Basic64 / Text file [SYNC_ROM.bas] Source code for creating the Sync Generator flash PROM 6. Basic64 / Text file [IMGx8_ROM.bas] Source code for copying eight 256x256x8 image data files to the flash PROM [HOME] [ELECTRONICS PROJECTS] [PART 1] [PART 3] [PART 4] |