|
LabGuy's World: RCA CRV-59AAE Iconoscope TV Camera Restoration - Part 2
[HOME] [ELECTRONICS PROJECTS] [PART 1] [PART 3] 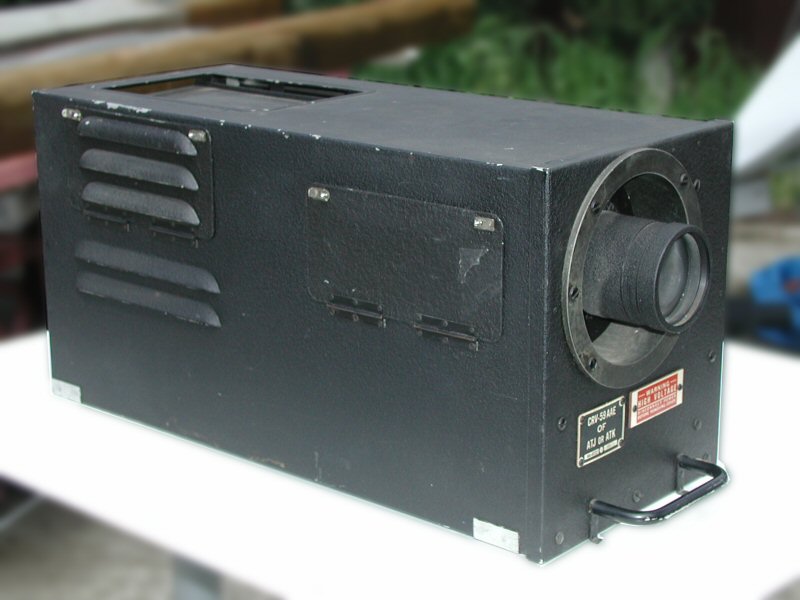
RCA CRV-59AAE Iconoscope Camera and the earliest pictures we've seen - 20150410 In part one, we reached the point where the camera was producing a recognizable picture of my test chart and light box. It was grainy and noisy mainly because my light box is simply not bright enough with two forty watt incandescent lamps. But, we were successful in making the camera operate. Shortly following that high point, smoke began to pour from every opening on the camera! Other responsibilities came up and the project was put aside for a short while. It is back on the bench. So, let's review. As testing progressed, deficiencies were discovered. A black and white monitor was needed and I had none suitable to the task. I had disposed of all of my old BW CRTs because they hog up so much space. I have a Sony professional LCD monitor for all of my monitoring needs now. It is SD and HD, including a professional HD SDI input module. It works great. Except with the really bad "sync" from this old camera. Modern monitors mute to a blank or blue screen if they do not recognize the input signal. A CRT will show you whatever you feed into it. This problem has now been solved by obtaining a very nice nine inch CRT by Ultrak that seems perfect for this job. It will likely become the permanent viewfinder for the RCA iconoscope camera. The first place to start is where ever that smoke was coming from. I have to hook up a few cables and re-open the camera case. Then shoot the following video: YOUTUBE VIDEO: RCA CRV-59AAE Iconoscope Camera - 20150517 Started the process to find the parts that smoked last time I ran the camera. This was the confirmation test after reconnecting everything. The power cable was simply cut off last time I put the camera away. That was reconnected. The new monitor was wired into the system. Much easier to see than the half inch viewfinder I used last time! Changed the +28 volt power supply filter capacitor to replace my original under rated capacitor. Powered on the unit and checked the DC volages. All in specification. Never saw the smoke. Go figure! Project Update: +28 volt power supply - 20150520 Looking closer at the power supply problem, I find myself back at the +28 volt, 5 amp DC power supply. Regardless of how much filter capacitance I add, 10,000uF+, the 120Hz AC ripple remains huge. Half a volt of ripple on 28 volts. That's 17.8% of the power is AC. The original documentation is very clear on this point. The +28VDC must be absolutely hum free or it gets into everything. As we have seen. I can't troubleshoot the subtle problems with the hum wiping out everything else. I have come to realize that the really cool looking selenium rectifier is part of the problem. I believe it is actually not rectifying very well any more. I replaced it with a modern silicon diode rectifier and the output voltage went up to 36 volts. No hum. Though the fellow used a tapped winding transformer, no combination of taps will get the voltage back to the required 28 volts. 36 volts is intolerably high. It will shorten the life of the tube heaters dramatically. So, a much more aggressive second order solution was called for. I ordered a modern, solid state, 28 volt, 5 amp power supply listed on Ebay. Twenty four bucks and free shipping. Problem solved. Now I just await the arrival of the new power supply. That will cure the 120Hz hum bars that are completely overwhelming the video amplifiers, and other circuits, inside the camera. 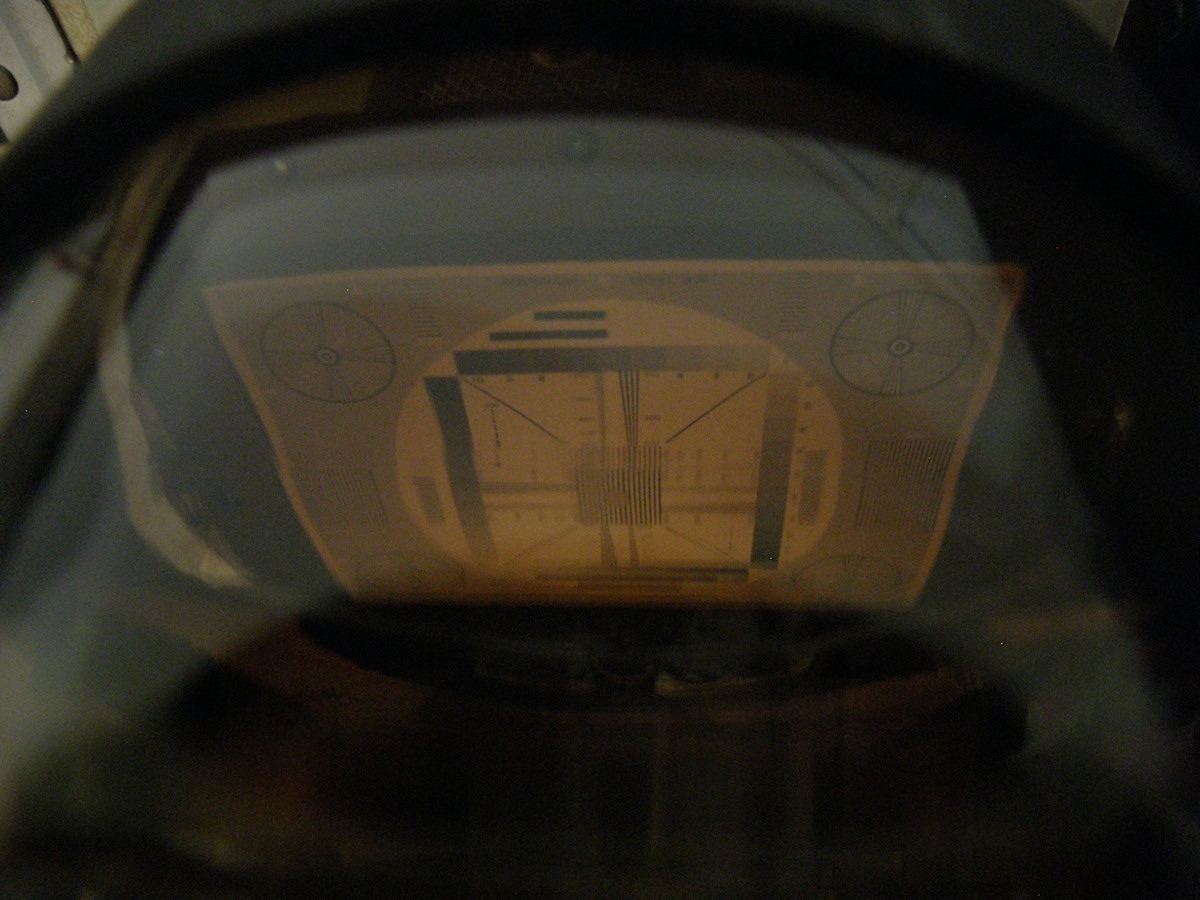

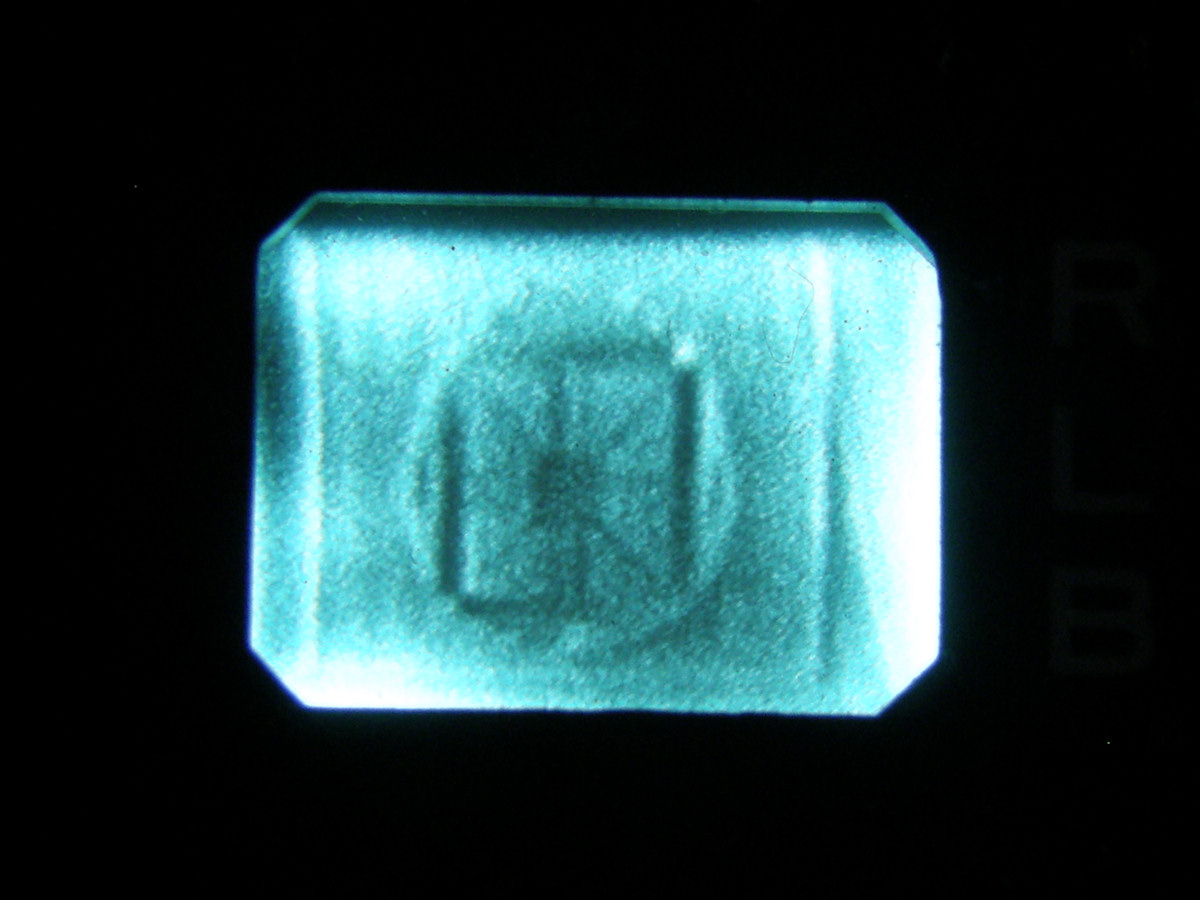
Project Update: Getting perfect frame and focus - 20150521 Since I can not run the camera very much for the moment, I decided to try to get the test pattern framed on the mosaic. The lens has a couple of wing nuts that keep it from falling out of the front of the camera. These limit how close the camera would focus. At minimum distance, the test pattern only covers about half of the mosaic. By removing the limiting wing nuts and pulling the lens out another inch or so, allows me to fill the mosaic with a sharply focused image. Apparently, the original alignment was performed with an under sized image. The vertical and horizontal size settings appear to be scanning less than the full mosaic. I wonder if this is normal? The measured focus distance was 48 inches. After removing the wing nuts, and framing the test pattern on the mosaic, the focus distance dropped to 36 inches. Those numbers are kind of not random. No? They seem to be multiples of one foot. Coincidence? The photograph was taken with my camera in macro focus mode and pressed right up to the primary bulb of the iconoscope tube. The picture on the monitor is only scanning the center portion of the test pattern now. I will have to locate the size controls and fix the underscan. No doubt the mosaic may have a burn in. Or not. Who knows? 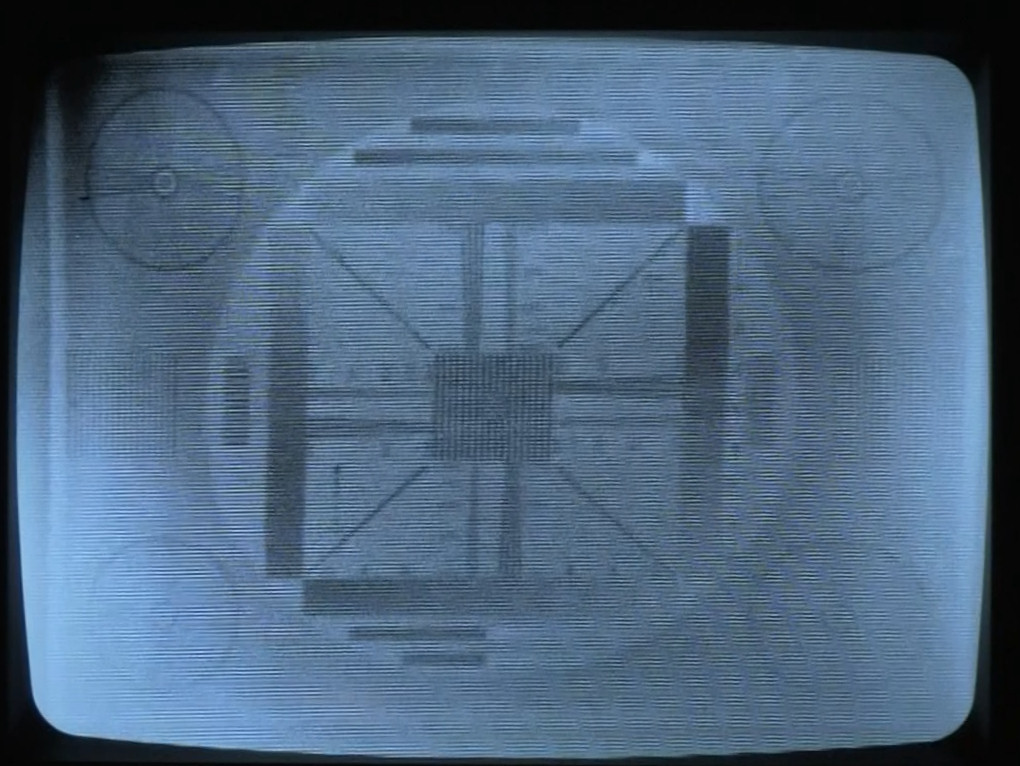
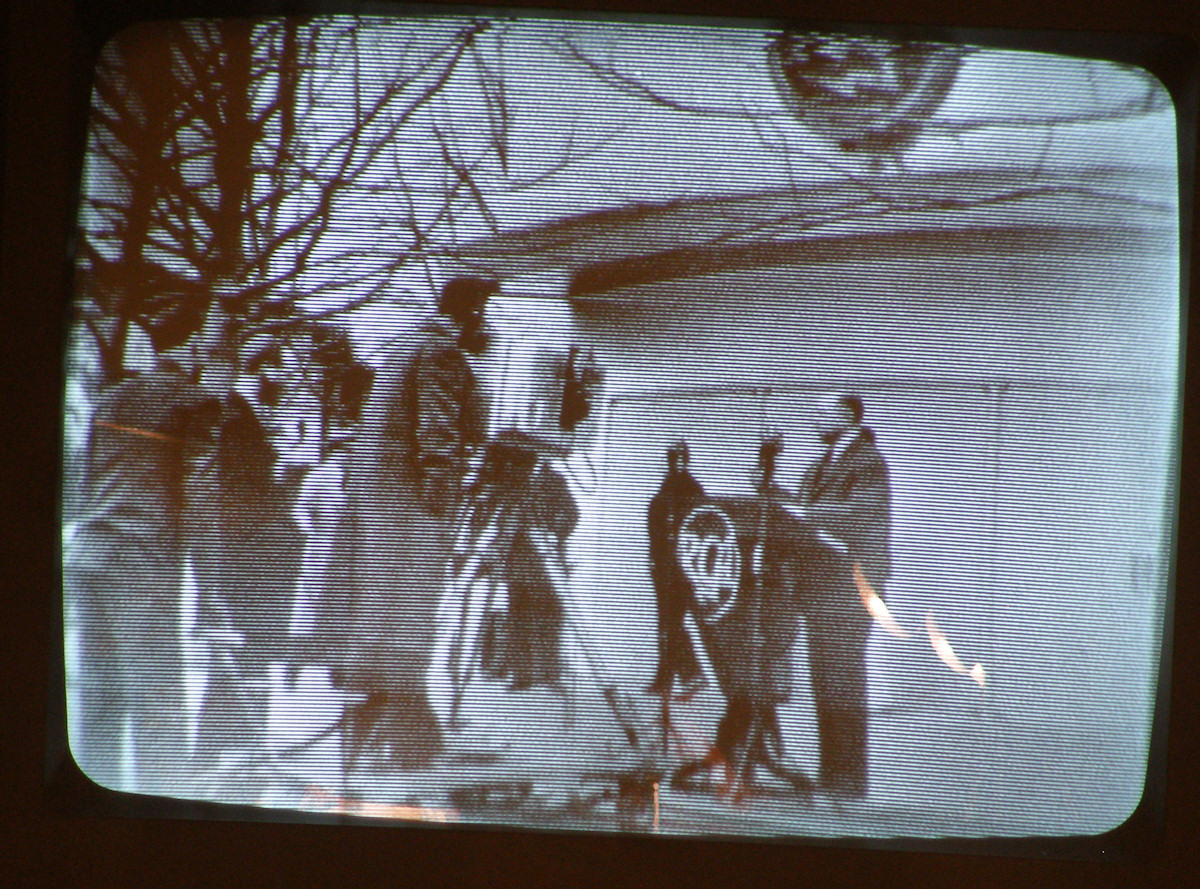
Project Update: Way More Better! - 20150528 The new 28 volts power supply has been installed. Once installed, we now have 27VDC with 0VAC ripple, according to my Fluke 77 meter. None. Zilch. Squat! There is a tiny bit of hum now on the +405VDC line. But it is far less noticable than the low voltage ripple. With the power supply noise removed, all of the signals in the camera are now clean. This means that sweep and electronic focus are no longer being modulated which blurrs any details as can be seen in the video screen grab above. The contrast is much better than what you see in this photo too. The darned thing works! - 20150529 This afternoon was the big moment. Got out the light kit and.... watch the video! 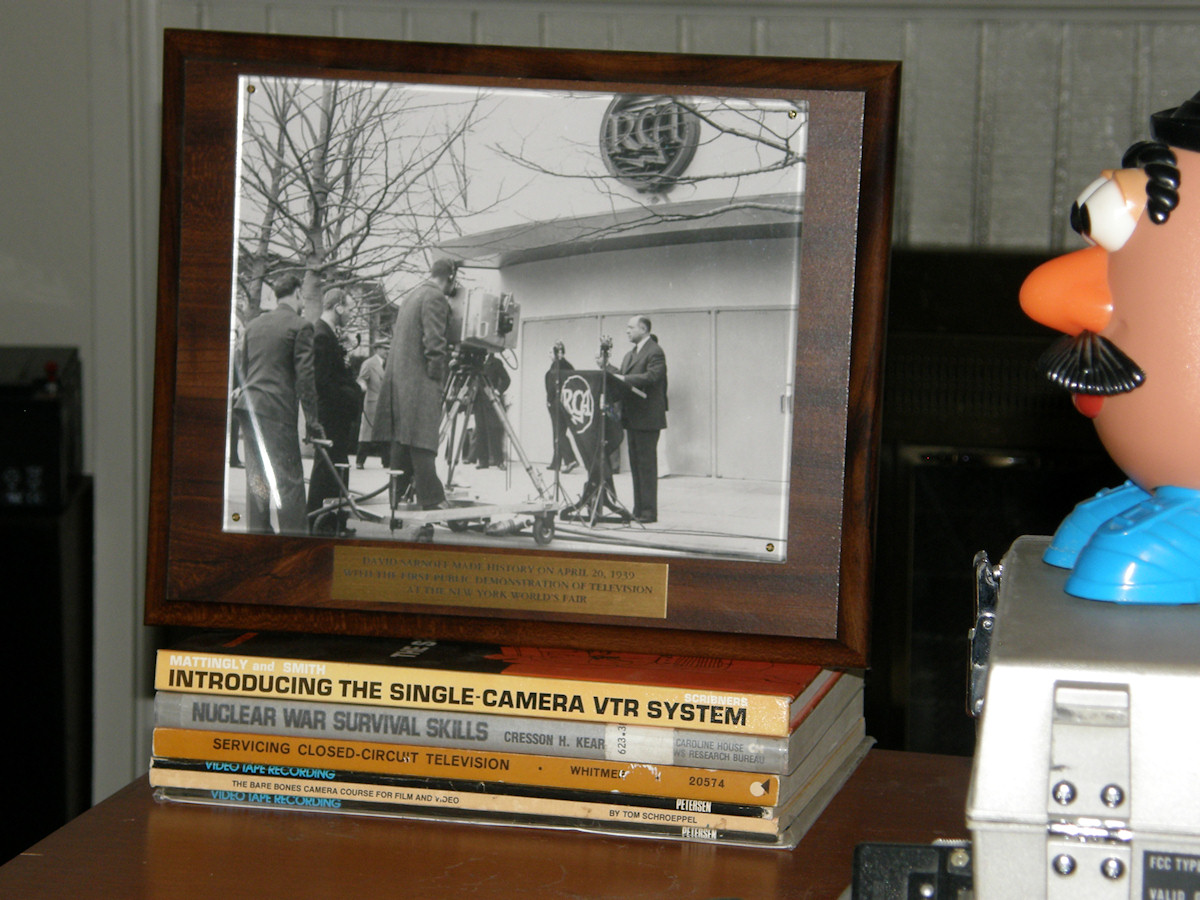
An approriate tribute to RCA, Sarnoff and Zworykin - 20150528 The plaque reads; David Sarnoff made history on April 20, 1939 with "the first" public demonstration of television at the New York World's Fair. That is an iconoscope camera broadcasting Sarnoff to several remote receivers. 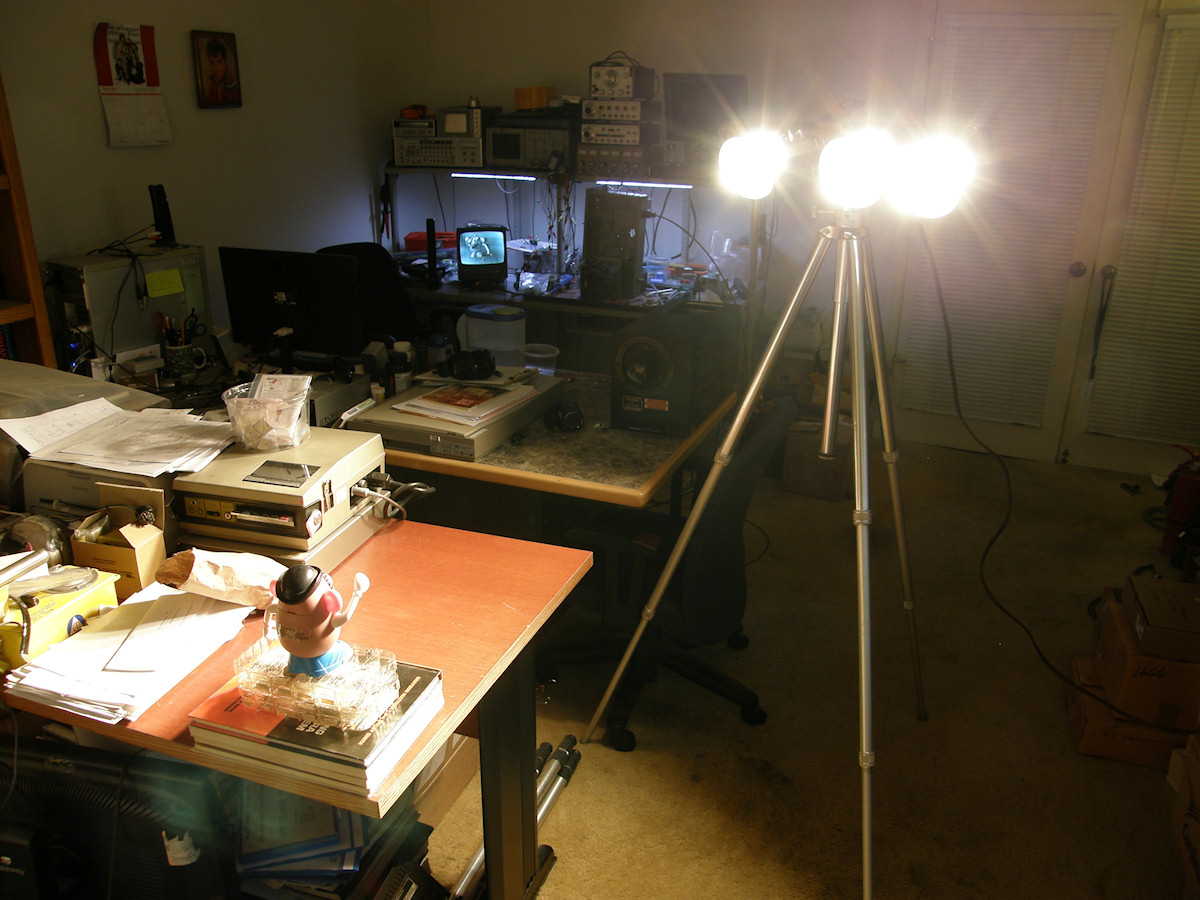
Behind the scenes, lots of light and heat! - 20150530 Once again, I set up my light bar and warmed up the tubes in the RCA CRV-59AAE iconoscope television camera. The light bar needs about 500 watts of power. The TV camera uses an astounding 200 watts of power. The lights and camera heat the room very quickly. So, they are on only long enough to take the photographs. 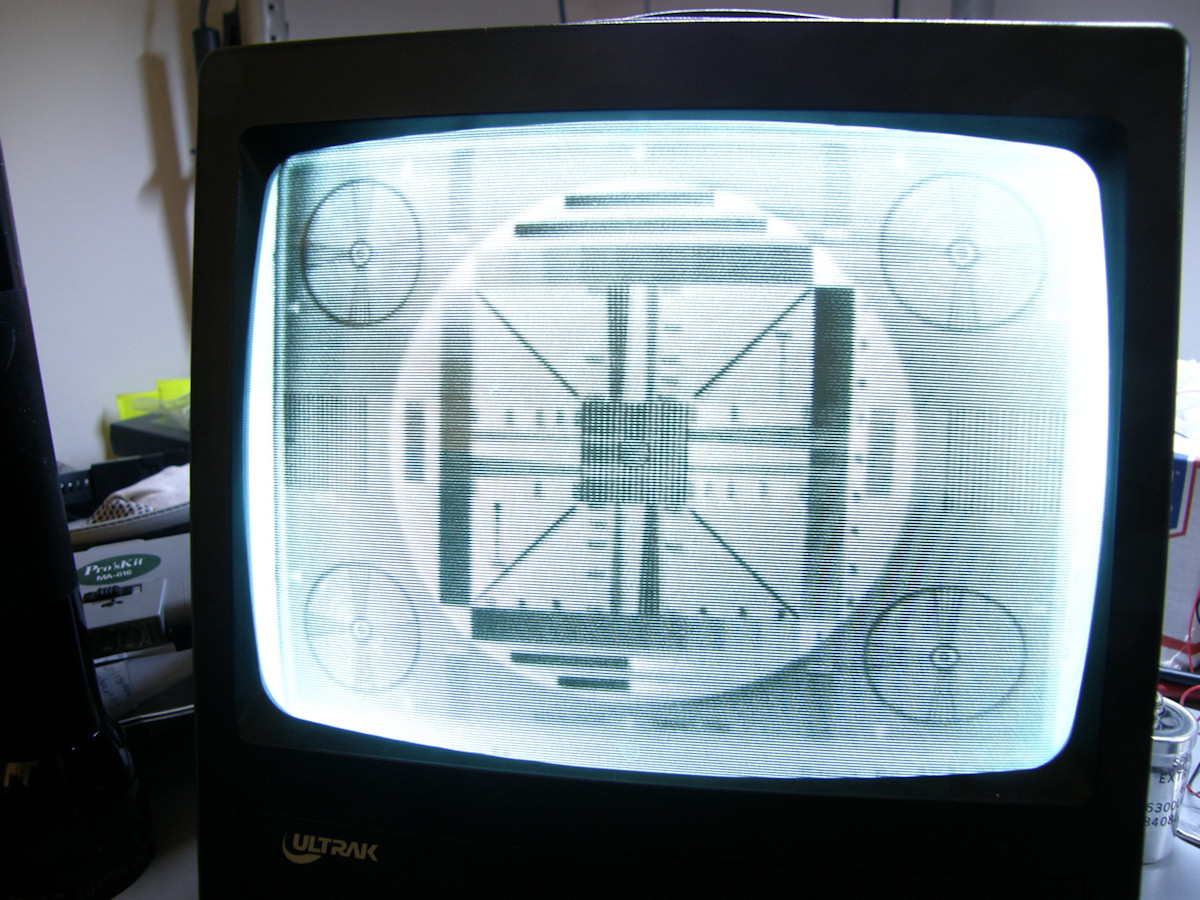
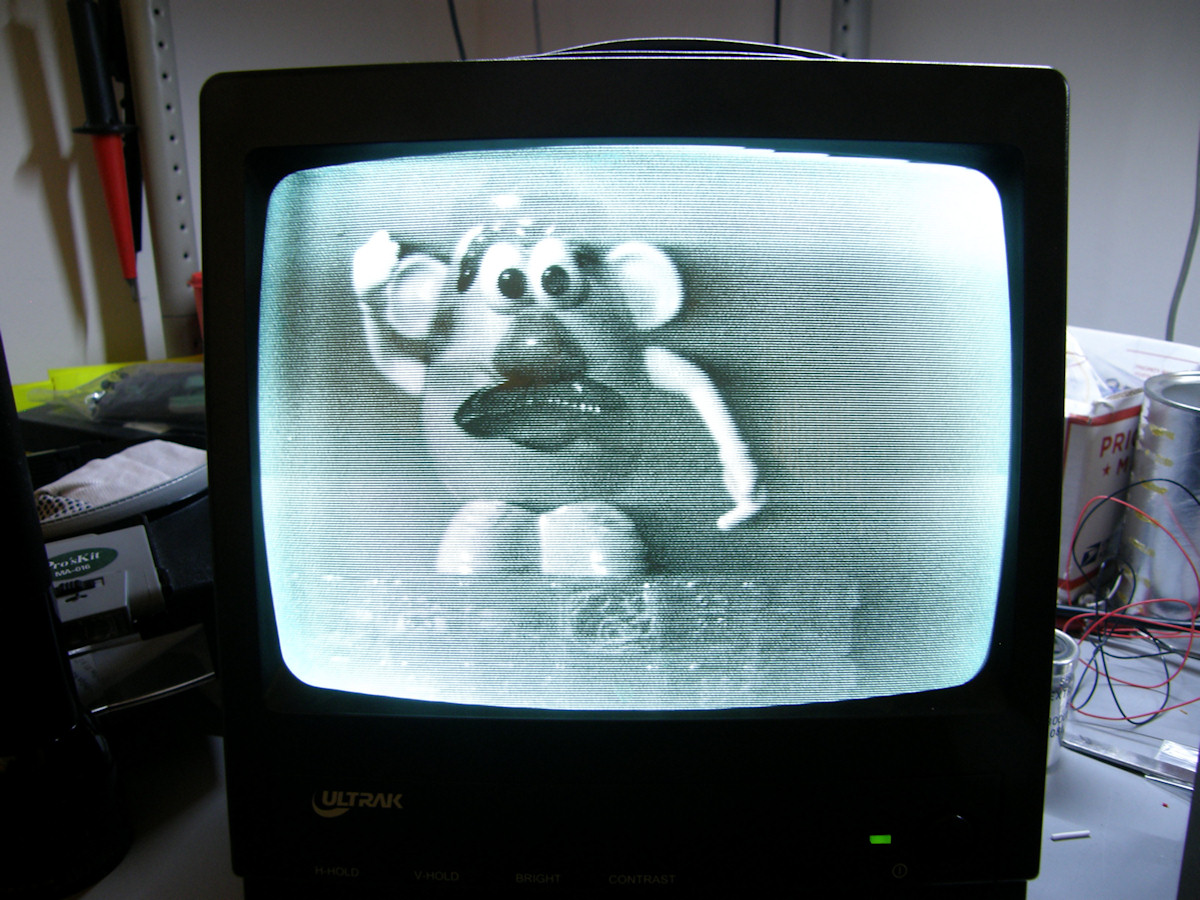
Test pattern and handsome model as seen by iconoscope camera - 20150530 You are seeing the test pattern from my light box. However, the internal lights are off. I am lighting the front of the slide with the 500 watt light bar. This produces a much stronger video signal. This is a completed project. Check the [ELECTRONICS PROJECTS] page for the latest projects. REFERENCES: 1. Harjo Sales [CRV-59 television camera conversion] instructions. 2. Mr. Fisher's original [CRV-59AAE conversion notes] in no particular order. I received them shuffled. I was not the person who scanned this material either. It is what it is. But, it is rich in info if you take the time to study it. RELATED LINKS AND RESOURCES:
BIBLIOGRAPHY:
[HOME] [ELECTRONICS PROJECTS] [PART 1] [PART 3] Created: May 17, 2015 Last updated: June 6, 2015 |